

Yield: 12 bagels
170 calories per bagel
Active time: 20 minutes
Total time: Overnight proof required, about 17½ hours.
ingredients
the starter
1/2 cup all-purpose flour
1/4 cool water
pinch of yeast
the dough
4 cups high gluten flour
1¼ cup lukewarm water
2 teaspoons kosher salt
1½ teaspoon yeast
water bath
4 quarts of water
1 tablespoon brown sugar
2 tablespoons baking soda
preparation
the day before:
1. In a medium bowl, combine "the starter" ingredients.

2. Stir with a spoon until a shaggy dough forms, then gently knead with your hands and form a ball.


3. Cover, set aside, and let rise at room temperature overnight.
the day of:
4. In a 2 cup Pyrex measuring cup, combine the lukewarm water, yeast, and a pinch of sugar. Set aside for 10 minutes.


5. In your stand mixer bowl, combine the starter, flour, and salt.


6. Pour in the yeast mixture and "stir" until a shaggy dough forms.

7. Increase the stand mixer speed to 2 and knead until a cohesive dough forms. Turn the dough out onto your counter top, knead by hand a few turns, and shape into a ball. Place the dough in a lightly oiled bowl.

8. Set the dough aside to rise for 1 hour.

9. Punch down the dough.

10. Let the dough rise for 30 more minutes.

11. Turn the dough out onto your counter top and divide it into 12 equal portions.


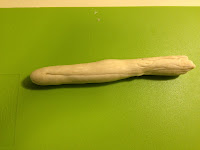
12a. rope
One at a time, roll the piece into a ball and gently roll the dough against the counter top, forming an 8 inch long rope.
12b. Place one end of the rope in the palm of your hand and wrap the rope around your hand, overlapping about 2 inches of the ends and squeezing them together to seal.

12.c Gently roll the bagel against the counter top to close the seams. Or, pinch them closed. Because this dough is very stiff, I found it very difficult to seal the seams. And when boiling the bagels, a few came apart.

13a. balls
One at a time, roll each piece into a ball.

13b. Use your index finger to poke a hole through the center of the ball.

13c. Twirl the dough around your finger to stretch the hole, connect your index finger and thumb, traveling around the ring to smooth out the dough. (The hole should be roughly 2 inch in diameter, with the entire bagel equaling about 3 1/2 inches in diameter.)

14. Place the bagels on a parchment or siplat lined baking sheet.


15. Repeat with the remaining pieces of dough.
16. Cover with plastic wrap and place in the fridge for about 3 hours.
17. Remove the bagels from the fridge and allow them to come to room temperature. About 30 minutes in, begin to bring a large pot of water with the "water bath" ingredients to a boil.


18. About 60 minutes after your taking the bagels from the fridge, see if the bagels pass the float test by placing one of the bagels in a small bowl of cold water. If it sinks and doesn't float back to the surface, shake it off, return it to the pan, and wait for another 15 to 20 minutes, then test it again.

19. Preheat your oven to 425 degrees.
20. Transfer the bagels, up to 4 at a time, to the simmering pot. Increase the heat such that the water is at a slow boil. Cook the bagels for 2 minutes, flip them over and allow to cook for 1 more minute.


21. Remove the bagels and place them back on the parchment or siplat lined baking sheet and sprinkle with toppings, if desired. The bagel nearly double in size during the boiling process.


22. Bake until golden brown, about 25 minutes.

Original recipe found here.

10. Let the dough rise for 30 more minutes.

11. Turn the dough out onto your counter top and divide it into 12 equal portions.


12a. rope
One at a time, roll the piece into a ball and gently roll the dough against the counter top, forming an 8 inch long rope.

12b. Place one end of the rope in the palm of your hand and wrap the rope around your hand, overlapping about 2 inches of the ends and squeezing them together to seal.

12.c Gently roll the bagel against the counter top to close the seams. Or, pinch them closed. Because this dough is very stiff, I found it very difficult to seal the seams. And when boiling the bagels, a few came apart.

13a. balls
One at a time, roll each piece into a ball.

13b. Use your index finger to poke a hole through the center of the ball.

13c. Twirl the dough around your finger to stretch the hole, connect your index finger and thumb, traveling around the ring to smooth out the dough. (The hole should be roughly 2 inch in diameter, with the entire bagel equaling about 3 1/2 inches in diameter.)

14. Place the bagels on a parchment or siplat lined baking sheet.


15. Repeat with the remaining pieces of dough.
16. Cover with plastic wrap and place in the fridge for about 3 hours.
17. Remove the bagels from the fridge and allow them to come to room temperature. About 30 minutes in, begin to bring a large pot of water with the "water bath" ingredients to a boil.


18. About 60 minutes after your taking the bagels from the fridge, see if the bagels pass the float test by placing one of the bagels in a small bowl of cold water. If it sinks and doesn't float back to the surface, shake it off, return it to the pan, and wait for another 15 to 20 minutes, then test it again.

19. Preheat your oven to 425 degrees.
20. Transfer the bagels, up to 4 at a time, to the simmering pot. Increase the heat such that the water is at a slow boil. Cook the bagels for 2 minutes, flip them over and allow to cook for 1 more minute.


(L: after 0 seconds, R: after 30 seconds)


(L: after 60 seconds, R: after 90 seconds)

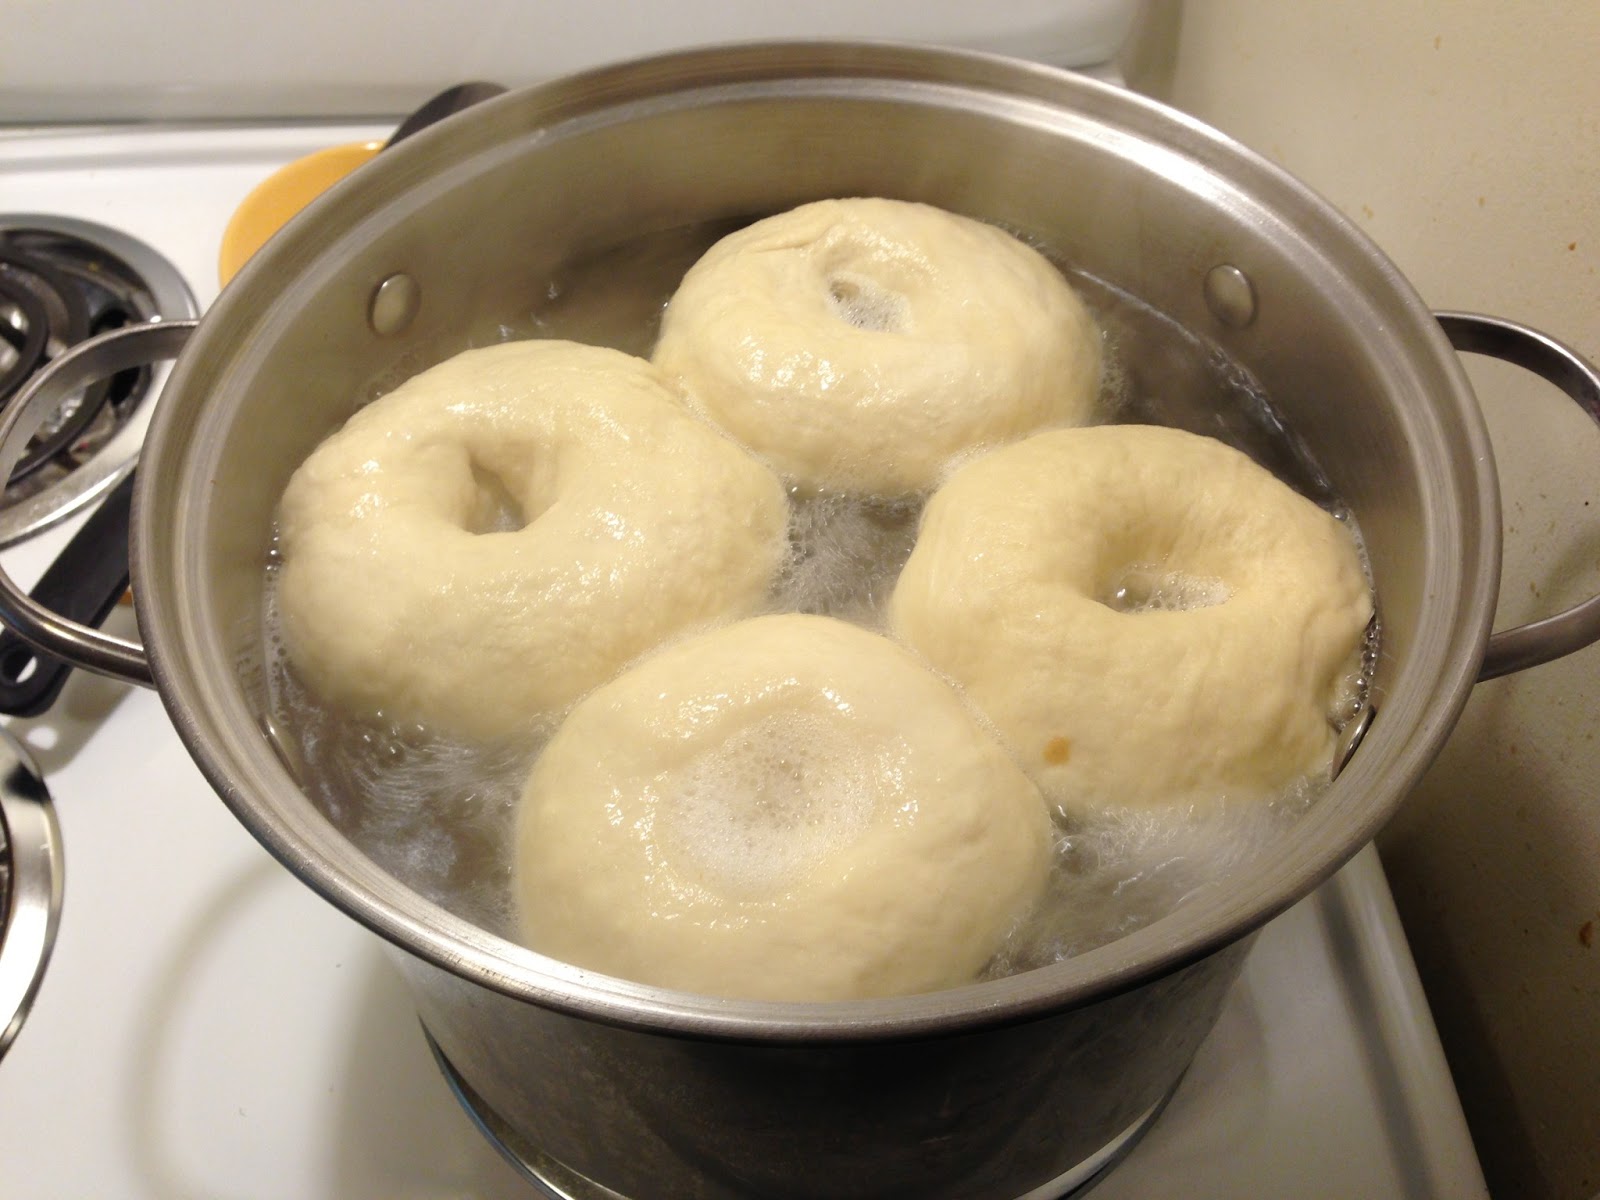
(after 120 seconds)


(L: after 150 seconds, R: after 180 seconds)
21. Remove the bagels and place them back on the parchment or siplat lined baking sheet and sprinkle with toppings, if desired. The bagel nearly double in size during the boiling process.


22. Bake until golden brown, about 25 minutes.

Original recipe found here.
No comments:
Post a Comment