
Yield: 4 small boules
660 calories per boule
Active time: 30 minutes
Total time: 10 hours to 28 hours, depending on the duration of the starter proof
ingredients
the starter
3/8 cup lukewarm water (this is equivalent to 1/4 cup and 2 tablespoons)
¼ cup
water
1¼ cup
all-purpose flour
1/8 teaspoon yeast
the dough
1¼ warm lukewarm water
1¼ teaspoon yeast
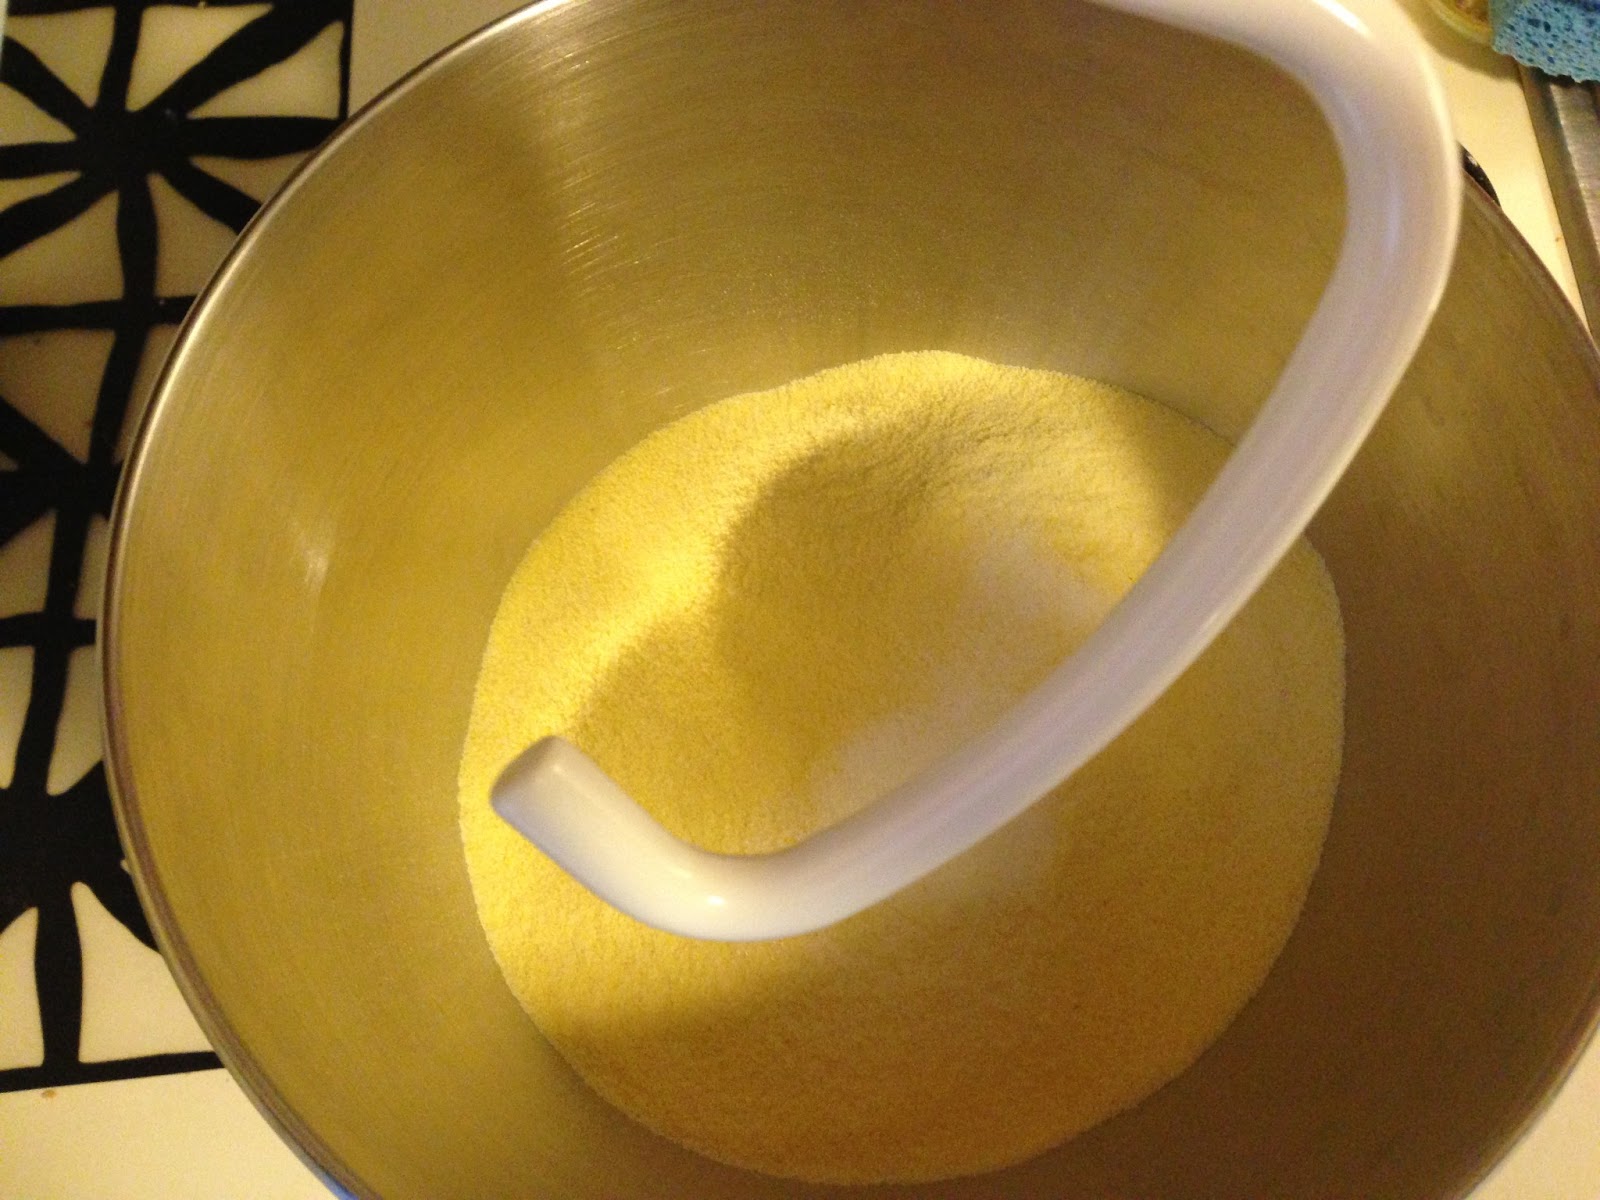
3¾ cups
semolina flour
1
teaspoon salt
preparation
The day before:
Making the starter
1. Mix
together the 3/8 cup lukewarm water, yeast and a pinch of sugar. Set aside for
10 minutes.

2. Combine
the flour, remaining 1/4 cup water and yeast mixture in a medium sized bowl,
mixing with a spoon until a loose dough forms. Use your hands to knead the
dough into a ball, which will be thick and wet.


3. Place
in a well-oiled bowl, cover, and set aside at room temperature. Unless the recipe states otherwise I like to cover my dough with both plastic wrap and a towel. The starter
should proof at least 6 hours, and can be kept at room temperature up to 24
hours. Here are some tips on starter
maintenance.


The day of:
Making the dough
4. Mix
together the lukewarm water, yeast and a pinch of sugar. Set aside for 10
minutes.


5. In
your stand mixer, combine 1/3 cup of the starter, semolina flour, salt, and
yeast mixture. With the dough hook,
"stir" the mixture. (See step 3 for recipe ideas for your unused starter.) Because my kitchen is small, I've found labeling my airtight canisters to be very helpful. I ordered custom, vinyl labels from CuttinCrazy on etsy.


6. Slowly
increase the speed (to 2 or 3) and knead until a smooth dough forms, about 5 minutes. The dough is very dry and you may need to adjust the dough during the knead and form into a ball once or twice by by hand to ensure a well-blended and cohesive dough forms.


 7. Transfer
to a well-oiled bowl, cover with plastic and let rise until dough has doubled
in size, about 1½ hours.
7. Transfer
to a well-oiled bowl, cover with plastic and let rise until dough has doubled
in size, about 1½ hours.


8. Roll dough out onto slightly floured surface. Divide into four equal pieces and shape each into a boule, placing on a parchment or silpat lined baking sheet and covering with plastic to rise until dough has doubled in size, about 1 hour.


10. After
the dough has risen, brush the boules with egg wash, desired topping, and score
the boules with a tic-tac-toe pattern.


 11. Arrange a water bath and bake
for 25 minutes, until loaves are golden brown. (See step 9 of “carbs, glorious carbs!” for more information on water baths)
11. Arrange a water bath and bake
for 25 minutes, until loaves are golden brown. (See step 9 of “carbs, glorious carbs!” for more information on water baths)


Other modifications:
- Make two large loaves or small rolls instead of boules.


