Extra-Ordinary Birthdays, a non-profit organization dedicated to providing children and families living in homeless shelters with personalized birthday parties, asked me to create a set of cakes for one of last weekend's celebrations. As a home-baker I've only recently begun making cakes and brownies from scratch, so felt a lot of trepidation and apprehension about baking these celebration cakes.
Keep it simple (and stick to what you know)
When first conceptualizing the princess and my little pony themed cakes, I had a lot of grandiose ideas that included melting down
Skittles or
Twizzlers, and creating a cornucopia rainbow of colored frosting come to life on a sugar cookie. Then I realized that I'm not
Duff Goldman, went back to drawing board and scaled it back to techniques that I knew I could execute.
Simple white cake
Yield: Two 8 inch cakes, 8 slices per cake
315 calories per slice
Active time: 15 minutes
Total time: 55 minutes
ingredients
1 cup melted butter at room temperature
1 tablespoon vanilla
2 cups sugar
3 cups all-purpose flour
4 teaspoons tablespoon baking powder
1 cup whole milk
4 eggs
preparation
1. Preheat the oven to 350 degrees.
2. In
a large bowl, using a hand mixer, cream sugar and butter.
3. Slowly
beat in the eggs, one at a time.
4. Add
the flour and baking powder, mixing well.
5. Incorporate the milk and vanilla to form a smooth batter.
6. Spoon
the batter into greased or parchment lined (bottom and sides) cake pans. This batter is VERY sticky, but comes out very moist (like a dense angel food). If you're using round cake pans and plan to stack, do not pour the batter to the top. Pour the batter about 3/4 to the top or a mushroom will form, as the cake rises during the bake which would need to be cut off to stack. However, if you line the inside of the cake pans with parchment paper, you can fill the cake pan about 7/8 full.
7. Bake
until cake bounces back in the middle, about 45 minutes. I turned my cakes 180 degrees after about 20 minutes for even baking.
8. Let cake cool completely before icing.
Other modifications:
- Cut back the sugar.
- Use almond or skim milk: Calories, fat, and cholesterol will be lower.
- Make cupcakes.
Original recipe can be found
here.
French meringue
Yield: Approximately 3 cups of meringue
284 calories per batch
Active time: 5 minutes
Total time: 15 minutes
ingredients
2 egg whites
1/3 cup sugar
1/4 teaspoon cream of tartar
1 teaspoon vanilla extract
preparation
1. Preheat
oven to 225 degrees.
2.
Combine
the egg whites, cream of tartar, and vanilla in bowl.
3.
Beat
on high speed (like the 8 setting on a stand mixer) with whisk attachment until soft peaks form, about 5 minutes.
4.
Turn off mixer and add desired amount of food coloring gel.
5. Turn mixer back up to high speed, slowly adding in sugar.
6. Beat
until stiff peaks form and mixture becomes glossy, about 5 minutes. If you're not sure if the peaks are stiff, keep your mixer going. One test is to turn your bowl upside down and if the whites stick, you're set. I don't totally understand this method, so I look for glossy, stiff peaks. After a few times making meringue, you'll be able to tell the difference between soft peaks and stiff peaks. If you don't beat the egg whites to stiff peaks, the meringue won't hold up when baked (it may sink) and won't develop the chewy inside. You can
over-beat egg whites, they'll turn grainy and dull.
7. Using
a spatula, fold the meringue into a zip lock bag and seal part way.
8. Gently
squeeze the meringue downward, into one of the ziplock’s corners. Seal the bag
completely.
9. Using
a sharp scissors, cut the ziplock corner (what you'll be using as the piping tip) to the desired width.
10. Slowly
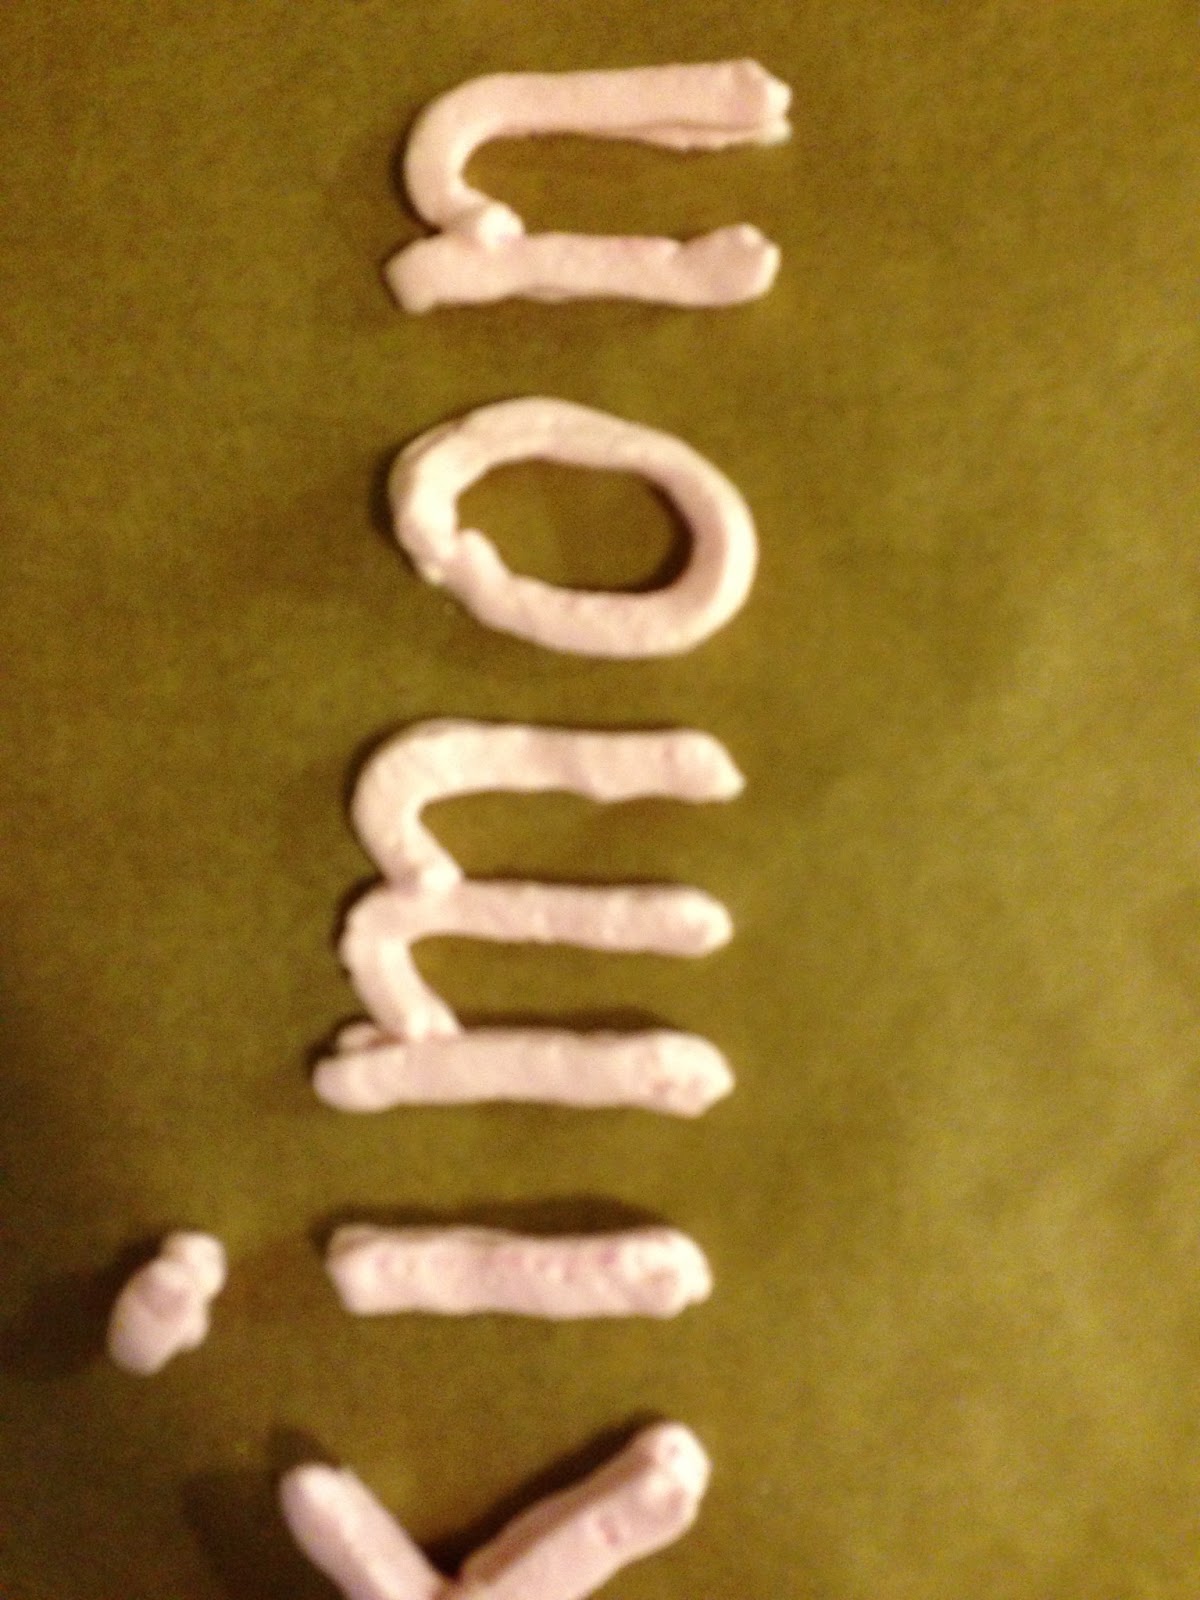
pipe the meringue onto a parchment or silpat lined baking sheet, creating desired
shapes or lettering. Beware of air bubbles, especially if piping something intricate. How will you know an air bubble is about to blow? You'll hear a slow hiss/gurgle/pool filter that's sucking in air type of sound.
11. Lightly cover meringue with sugar sprinkles, if desired.
12. Bake
for 90 minutes, or until meringue pieces sound hollow when tapped. Thin and
small shapes will not require 90 minutes to set, and will not taste like gooey meringue. But, they're cool decorations.
13. Let
cool before removing from the baking sheets, or the meringue will stick (or worse yet rip apart when you attempt to pull it from the baking sheet).
Other modifications:
- Don't color the meringue.
- Before step 6, fold in 1 tablespoon cocoa powder or 1/4 cup of coconut or chocolate chips.
- Substitute peppermint or almond extract for the vanilla.
- Drop by spoonfuls to look like larger drop cookies. I've found the easiest way to do that to use two spoons. Scoop with one spoon, use the other spoon to help form the drop shape, and then use the first spoon to drop onto the baking sheet. This style produces nice, fluffy, chewy meringue.
Original recipe can be found
here.
Decorating the cakes
I opted for pre-made frosting so I could devote my energy to piping the raspberry and bubblegum flavored frosting a la
Duncan Hines Frosting Creations, a dry powder that adds both color and flavor. I also used green food coloring gel.
I divided the white frosting and mixed the coloring in bowls, using snack sized ziplock bags to pipe.
Extra-Ordinary Birthdays said the family enjoyed the cakes appreciated that were homemade! I learned a lot from this project and can't wait to improve my cake making and decorating so the finished product can look a little more refined. I'm thinking spring form pan, texturing, and piping variety. And, I may use this as an excuse to get a second cake transporter. :)