"The only real stumbling block is fear of failure. In cooking you've got to have a what-the-hell attitude." Julia Child

Tuesday, March 5, 2013

chocolate chip craisin bread

Enough with the savory, let's talk sweet. This no-knead recipe delivers bread packed with chocolaty goodness. 


Yield: 16 rolls or 1 large loaf or 2 medium loaves
180 calories per roll or 2,900 calories per batch
Active time: 25 minutes
Total time: 15 hours

ingredients
the dough
3 cups high gluten flour
1/2 cup rye flour
1/2 cup wheat flour
2½ teaspoons salt
1/4 teaspoon instant yeast
1¾ cups lukewarm water

the filling
1½ cup craisins
1/2 cup chocolate chips

The day before: Making the dough
1. Mix the water, yeast, and a pinch of sugar. Let stand for 10 minutes. Given the small amount of yeast, the mixture doesn't get too bubbly or foamy.


2. Combine and mix the flours and salt in a large bowl. Slowly add the yeast mixture, stirring with a plastic spoon until a soft, loose dough forms.


3. Roll the dough out onto a hard surface and knead by hand a few turns to ensure all the ingredients are incorporated. Form a ball. 


4. Place the dough in a large, lightly oiled bowl. Cover with plastic wrap and a towel. Let rest at room temperature for at least 12 hours. 


The day of: Shaping and baking the bread
The dough will be bubbly and puffy when you roll it onto a lightly floured counter top. 


a. rolls:
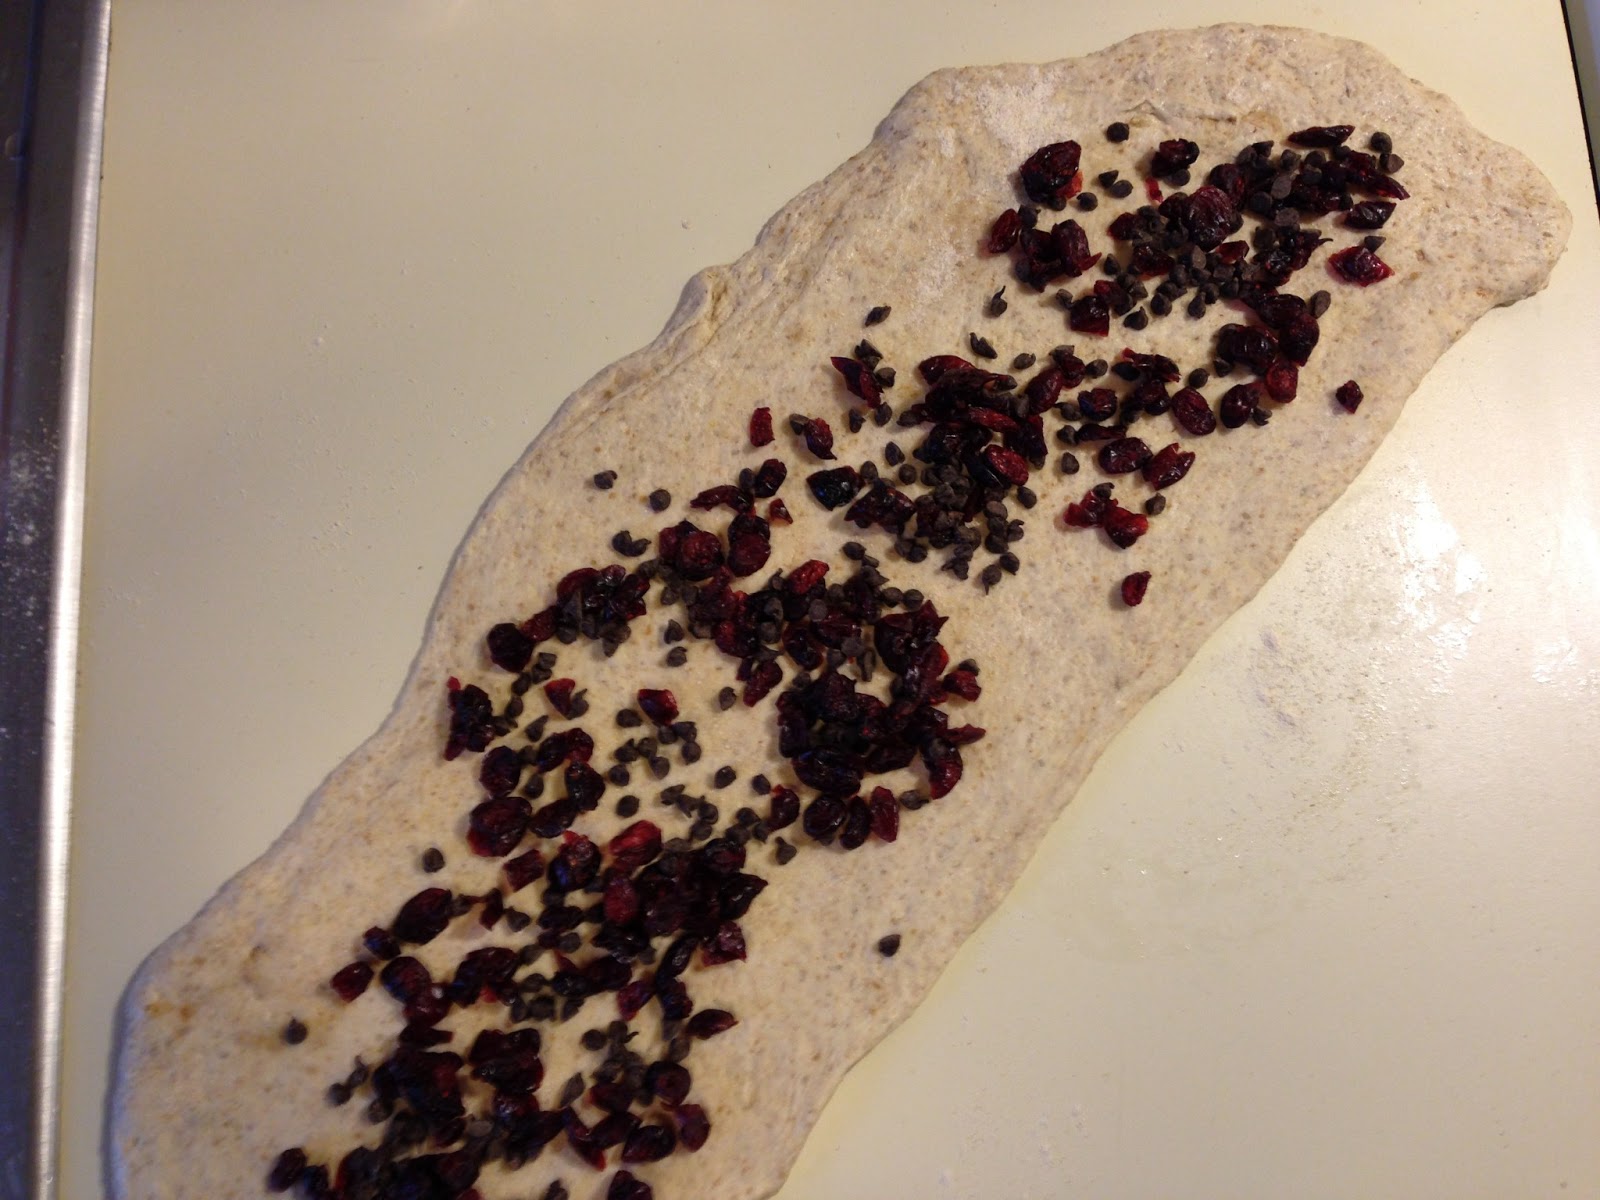
5a. Cut the dough into half and roll it out into a long rectangle. Sprinkle the toppings on top of the dough and form a long jelly roll.  Cut the jelly roll into 8 pieces and form them each into small balls, making sure to seal and tuck in the ends.  No add-ins should poke out or through the dough. Repeat with the other half of the dough.


6a. Place the rolls on a parchment or silpat lined baking sheet and cover with lightly greased plastic wrap and a towel. Let rise about 2 hours.  


7a. During the last 30 minutes of the proof, preheat the oven to 450 degrees.
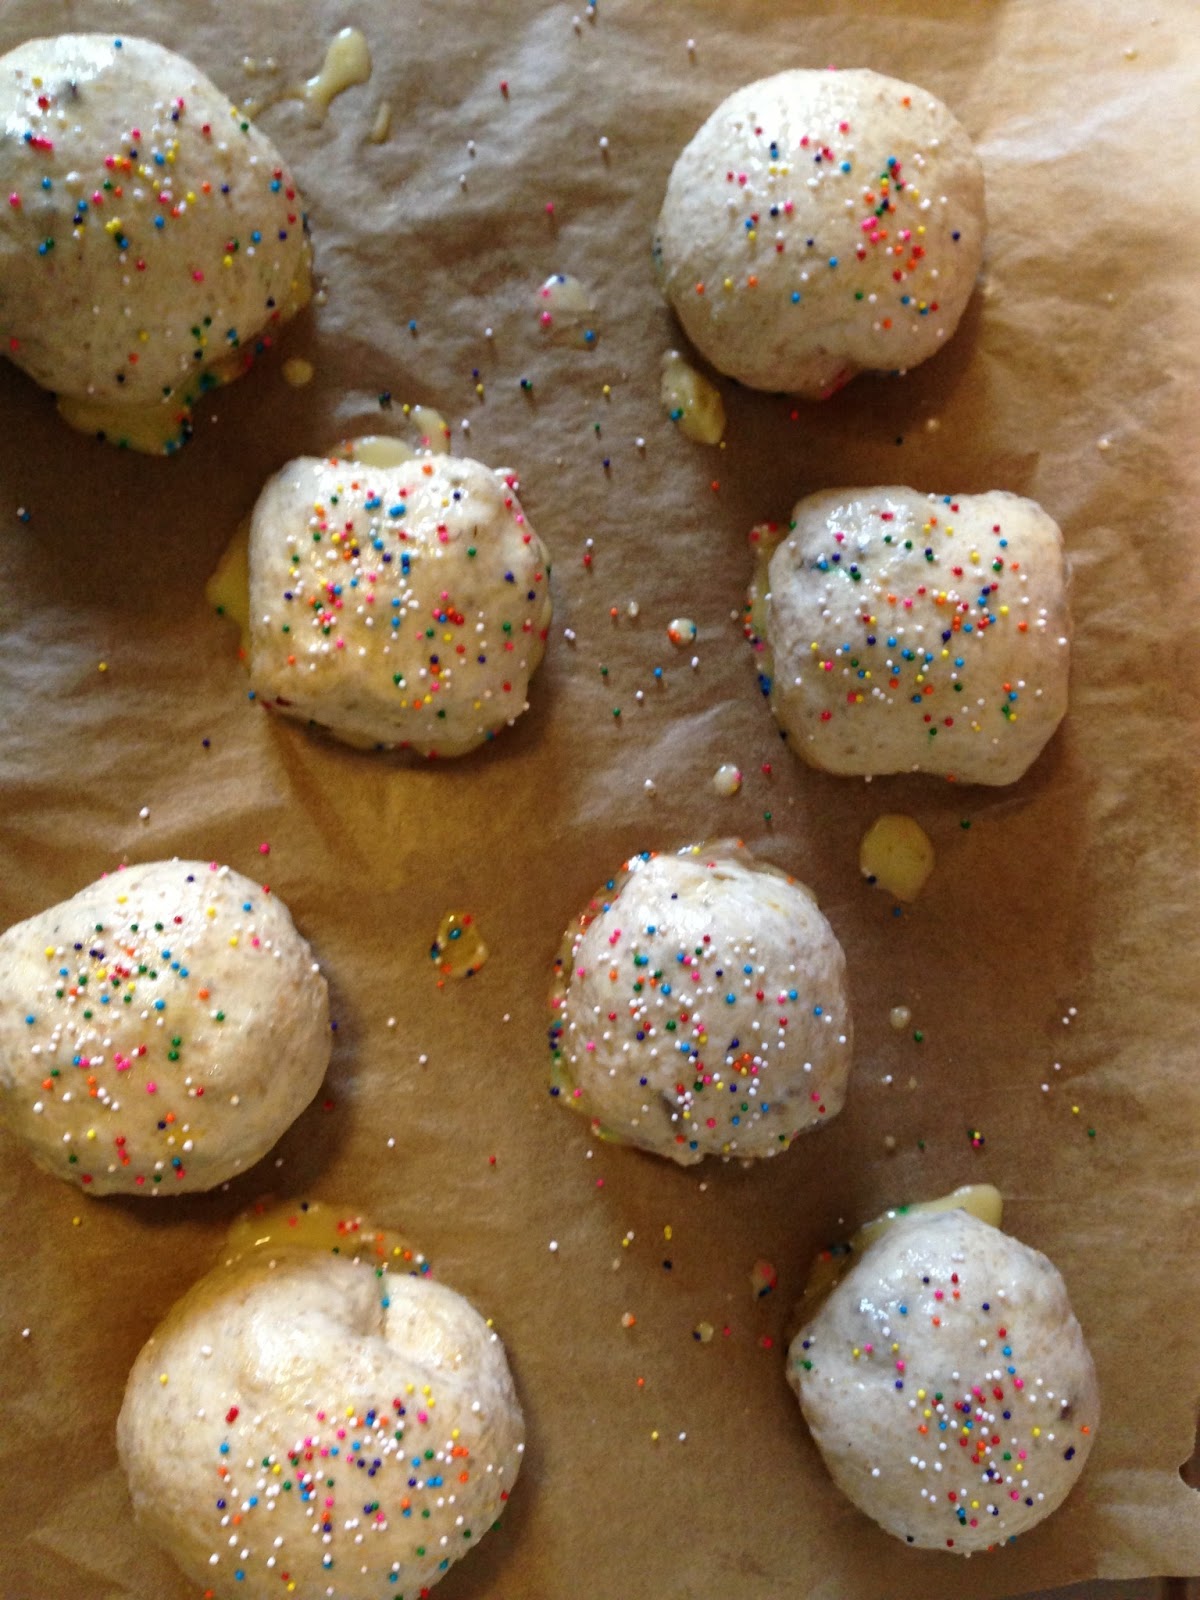

8a. Brush with egg wash, desired topping, and bake for 30 minutes, or until the rolls are deep brown in color.

b. loaf:
5b. Turn the dough out onto a lightly floured surface and shape into a rectangle.  Sprinkle on the toppings and form a jelly roll, rolling from the short side.  Form into a ball, making sure you seal and tuck in the ends. No add-ins should poke out or through the dough. Let rest 15 minutes. Place in a lightly greased bowl, cover, and let rise for about 2 hours.


6b. During the last 30 minutes of proof, preheat the oven to 450°F and place a bread crock or an oven-safe pot in the oven while it heats up. I used an enameled cast iron dutch oven. 

7b. After the dough is risen, remove the crock from the oven, and turn the dough out of the bowl and into the parchment lined crock. Brush with egg wash, cover with the lid, and return to the oven. I used the plastic wrap cover to turn the dough into my hand and then dropped it into dutch oven to ensure the jelly roll seams would be on the bottom of the loaf during the bake.


8b. Bake for 30 minutes covered, then remove the lid and continue to bake another 30 minutes, until the bread is deep brown in color. (To prevent darker spots, make sure that in step 5 your dough is taut. Loose rolling + air bubble = unsightly, dark bubbles.)


Other modifications:
  • Don’t include the chocolate chips or craisins: You’ll have a savory rye/wheat bread!
  • Don't close up the ends and proof with cut side up so your rolls look more like pinwheels/cinnamon rolls.
  • Use different add-ins like sweetened coconut flakes or dried lavender.

Original recipe found here.

Sunday, March 3, 2013

sourdough peanut butter cookies

This recipe is a great alternative to the standard peanut butter cookie and provides another easy way to use sourdough starter.

Yield: 24 cookies, using 1 tablespoon of batter per cookie
120 calories per cookie
Active time: 5 minutes
Total time: 35 minutes

ingredients
1/2 cup unfed sourdough starter, straight from the fridge is fine as long as it has been stirred down
1/2 cup peanut butter
1/2 cup butter, melted at room temperature
1/2 cup brown sugar
1 cup all-purpose flour
1/2 teaspoon baking powder
1/2 teaspoon baking soda
1/2 teaspoon vanilla extract
1/2 teaspoon salt
1 egg
preparation
1. Preheat the oven to 350 degrees.

2. Mix together the peanut butter, sourdough starter, egg, brown sugar, and butter.  Blend, with a hand mixer, until a smooth batter forms.

I've been maintaining a sourdough starter for 3 weeks.  (See step 3 of "semolina bread" for more information on starter maintenance and additional recipes.) The photo on the left is unstirred and the photo on the right is the sourdough starter after stirring it down.

3. Add the remaining ingredients to the bowl and blend with the hand mixer. You may have to use a spatula for straggling batter that's sticking to the side of the bowl. The batter will be thick. Refrigerate the batter for 10 minutes.


4. Using a tablespoon, take a scoop of the batter. Use a second metal kitchen spoon to drop the batter portion from the tablespoon onto a parchment or silpat lined cookie sheet. The cookies will spread out a little during the make, so leave about 1 inch between them. Cover lightly with sprinkles, if desired.

5. Bake at 350 degrees for 20, until the cookies are golden brown around the edges.

Original recipe found here

Friday, March 1, 2013

let them eat cake


Extra-Ordinary Birthdays, a non-profit organization dedicated to providing children and families living in homeless shelters with personalized birthday parties, asked me to create a set of cakes for one of last weekend's celebrations. As a home-baker I've only recently begun making cakes and brownies from scratch, so felt a lot of trepidation and apprehension about baking these celebration cakes.

Keep it simple (and stick to what you know)
When first conceptualizing the princess and my little pony themed cakes, I had a lot of grandiose ideas that included melting down Skittles or Twizzlers, and creating a cornucopia rainbow of colored frosting come to life on a sugar cookie.  Then I realized that I'm not Duff Goldman, went back to drawing board and scaled it back to techniques that I knew I could  execute.

Simple white cake

Yield: Two 8 inch cakes, 8 slices per cake
315 calories per slice
Active time: 15 minutes
Total time: 55 minutes

ingredients
1 cup melted butter at room temperature
1 tablespoon vanilla
2 cups sugar
3 cups all-purpose flour
4 teaspoons tablespoon baking powder
1 cup whole milk
4 eggs 

preparation
1. Preheat the oven to 350 degrees.

2.  In a large bowl, using a hand mixer, cream sugar and butter.


3.  Slowly beat in the eggs, one at a time.


4.  Add the flour and baking powder, mixing well.


5. Incorporate the milk and vanilla to form a smooth batter.


6. Spoon the batter into greased or parchment lined (bottom and sides) cake pans. This batter is VERY sticky, but comes out very moist (like a dense angel food). If you're using round cake pans and plan to stack, do not pour the batter to the top. Pour the batter about 3/4 to the top or a mushroom will form, as the cake rises during the bake which would need to be cut off to stack. However, if you line the inside of the cake pans with parchment paper, you can fill the cake pan about 7/8 full.

7. Bake until cake bounces back in the middle, about 45 minutes. I turned my cakes 180 degrees after about 20 minutes for even baking.

8.  Let cake cool completely before icing.

Other modifications:
  • Cut back the sugar.
  • Use almond or skim milk: Calories, fat, and cholesterol will be lower.
  • Make cupcakes.
Original recipe can be found here.

French meringue 
Yield: Approximately 3 cups of meringue
284 calories per batch
Active time: 5 minutes
Total time: 15 minutes

ingredients
2 egg whites
1/3 cup sugar
1/4 teaspoon cream of tartar
1 teaspoon vanilla extract

preparation
1. Preheat oven to 225 degrees.

2.  Combine the egg whites, cream of tartar, and vanilla in bowl.


3.  Beat on high speed (like the 8 setting on a stand mixer) with whisk attachment until soft peaks form, about 5 minutes.

4.  Turn off mixer and add desired amount of food coloring gel.


5. Turn mixer back up to high speed, slowly adding in sugar.


6. Beat until stiff peaks form and mixture becomes glossy, about 5 minutes. If you're not sure if the peaks are stiff, keep your mixer going. One test is to turn your bowl upside down and if the whites stick, you're set.  I don't totally understand this method, so I look for glossy, stiff peaks. After a few times making meringue, you'll be able to tell the difference between soft peaks and stiff peaks.  If you don't beat the egg whites to stiff peaks, the meringue won't hold up when baked (it may sink) and won't develop the chewy inside. You can over-beat egg whites, they'll turn grainy and dull.


7. Using a spatula, fold the meringue into a zip lock bag and seal part way.

8. Gently squeeze the meringue downward, into one of the ziplock’s corners. Seal the bag completely.


9. Using a sharp scissors, cut the ziplock corner (what you'll be using as the piping tip) to the desired width.


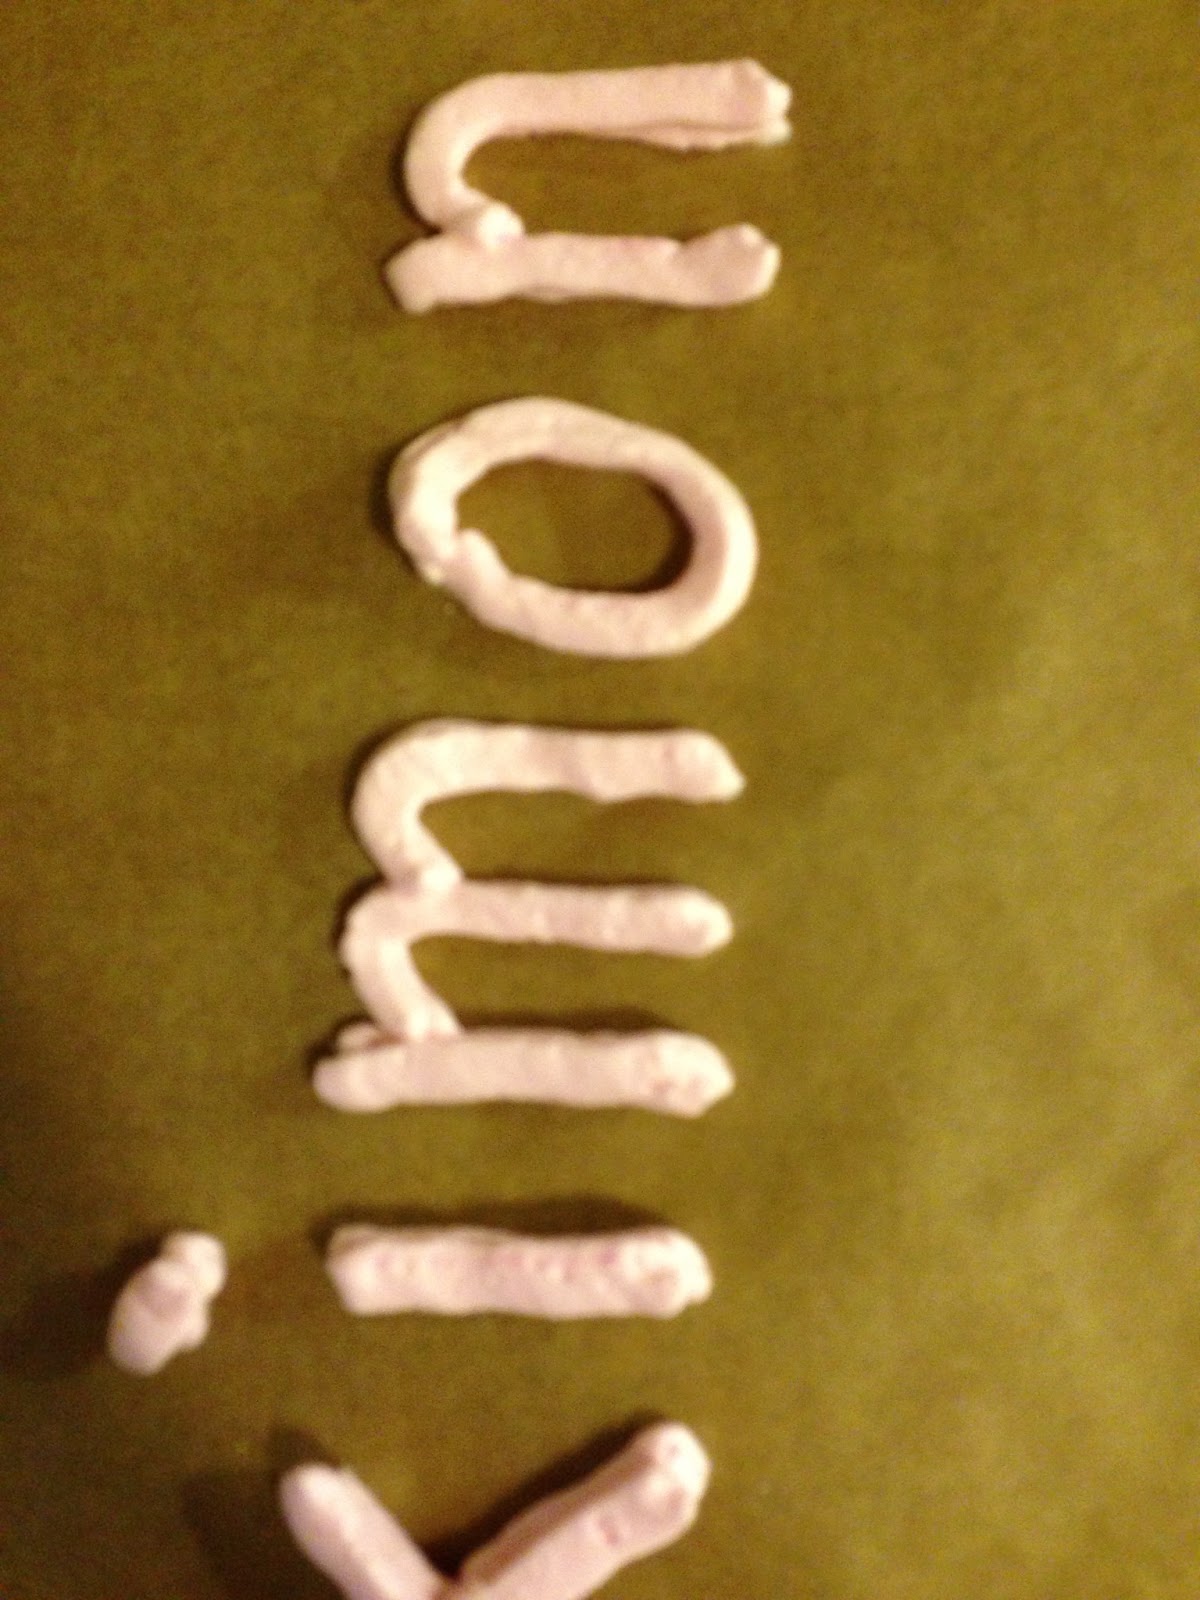
10. Slowly pipe the meringue onto a parchment or silpat lined baking sheet, creating desired shapes or lettering. Beware of air bubbles, especially if piping something intricate. How will you know an air bubble is about to blow? You'll hear a slow hiss/gurgle/pool filter that's sucking in air type of sound.  


11. Lightly cover meringue with sugar sprinkles, if desired.

12. Bake for 90 minutes, or until meringue pieces sound hollow when tapped. Thin and small shapes will not require 90 minutes to set, and will not taste like gooey meringue. But, they're cool decorations.

13.  Let cool before removing from the baking sheets, or the meringue will stick (or worse yet rip apart when you attempt to pull it from the baking sheet).


Other modifications:
  • Don't color the meringue. 
  • Before step 6, fold in 1 tablespoon cocoa powder or 1/4 cup of coconut or chocolate chips.
  • Substitute peppermint or almond extract for the vanilla.
  • Drop by spoonfuls to look like larger drop cookies. I've found the easiest way to do that to use two spoons. Scoop with one spoon, use the other spoon to help form the drop shape, and then use the first spoon to drop onto the baking sheet. This style produces nice, fluffy, chewy meringue.
Original recipe can be found here.

Decorating the cakes
I opted for pre-made frosting so I could devote my energy to piping the raspberry and bubblegum flavored frosting a la Duncan Hines Frosting Creations, a dry powder that adds both color and flavor. I also used green food coloring gel.

I divided the white frosting and mixed the coloring in bowls, using snack sized ziplock bags to pipe.


Extra-Ordinary Birthdays said the family enjoyed the cakes appreciated that were homemade! I learned a lot from this project and can't wait to improve my cake making and decorating so the finished product can look a little more refined. I'm thinking spring form pan, texturing, and piping variety. And, I may use this as an excuse to get a second cake transporter. :)