"The only real stumbling block is fear of failure. In cooking you've got to have a what-the-hell attitude." Julia Child
Showing posts with label refrigerator proof. Show all posts

Saturday, July 13, 2013

sourdough oat bread

Yield: 2 loaves
1,270 calories per loaf
Active time: 15 minutes
Total time: Overnight proof required, about 17 hours


ingredients
1 cup sourdough starter, fed
1½ cups lukewarm water
2 teaspoons yeast
3½ cups high gluten flour
1 cup instant oats
2 teaspoons salt

preparation
1. In a 2 cup Pyrex measuring cup, combine the lukewarm water, yeast, and a pinch of sugar. Set aside for 10 minutes. See “seeded multigrain truffle rolls” for photos of fermenting yeast.

2. In your stand mixer bowl, combine the fed starter, flour, oats, salt, and pepper.


3. With the dough hook attached, “stir”.


4. Slowly add in the yeast mixture and continue to “stir” until a shaggy dough forms.

5. Increase the stand mixer speed to 2 and knead until a smooth, soft, and cohesive dough forms, about 5 minutes.


6. Turn the dough out onto your counter top, knead by hand a few turns, and shape into a ball.

7. Place the dough in a large bowl, cover with plastic wrap, and set aside to rise until it’s doubled in bulk, about 2 hours.


8. Turn the dough out onto your counter top, divide in half, and shape into a loaf.  To eliminate air bubbles, I've been rolling the dough into a rectangle, rolling it into a log, pinching the seams, and rolling the seam on the counter top.


9. Repeat with the other half of the dough.

10. Place the loaves in a loaf pan or on a parchment or silpat lined baking sheet.


11. Place in the fridge for at least 12 hours.


12. Remove the loaves from the fridge and let rise to room temperature, about 2 hours.

13. With about 30 minutes left in the final proof, preheat your oven to 450 degrees.

14. Bake until golden brown, about 40 minutes. Because the dough is soft, you may want to tent the loaves after 20 minutes to prevent browning. I like to think the browning makes the loaves look rustic. :)


Original recipe found here.

Wednesday, June 26, 2013

brioche

This recipe calls for three sticks of butter and five eggs. Of course it tastes amazing. :) 


Yield: 1 large loaf
4,500 calories per loaf
Active time: 30 minutes
Total time: Overnight proof required, about 18 hours
Looking for a no-knead brioche? Check out my other blog post.

ingredients
the sponge
1/2 cup high gluten flour
2 teaspoons yeast
1/2  cup whole milk, lukewarm


the dough
5 large eggs, slightly beaten
3 cups (13.75 ounces) unbleached bread flour
2 tablespoons (1 ounce) granulated sugar
2 teaspoons salt
2 sticks  unsalted butter, at room temperature
 

preparation
the day before:
1. In your stand mixer bowl, combine “the sponge” ingredients and stir until a shaggy dough forms.


2. Use your hands to knead the dough into a ball, cover with plastic wrap, and set aside to ferment for 30 minutes.


3. Add the eggs to your stand mixer bowl which already contains the sponge and beat at medium speed with the paddle attachment until smooth, about 3 minutes.


4. Add the flour, sugar, and salt to the sponge mixture and mix with paddle attachment on speed 2 until all the ingredients are hydrated and evenly distributed, about 2 minutes.


5. After the mixture is hydrated, let the dough rest for 5 minutes. 


6. With the paddle attached, work in 1/4 of the butter, mixing on a speed of 4.  Repeat with the remaining butter 1/4 at a time, only after the butter is fully incorporated. This takes about 8 minutes and you may need to scrape down the bowl between butter incorporations.


7. After all the butter has been incorporated, mix the dough on a speed of 4 for about 5 minutes.


8. Using your hands, knead the dough a few turns, shape into a ball, place into a lightly oiled bowl, cover the bowl with plastic wrap, and place the bowl in the fridge to proof overnight. The dough will be very smooth, almost like Gak!


the day of:
9. Turn the dough out onto your counter top and shape it into a loaf/brioches a tete/buns.  The mold/pan should be left half full to allow for expansion.


10. Place the dough in a parchment lined loaf pan/baking sheet/well-oiled molds, cover with plastic wrap, and set aside to double in bulk/fills the mold. This can take anywhere from 2-5 hours.  My loaf to about 4½ hours to double in bulk.


11. Brush the loaf with egg wash, sprinkle on sesame seeds, and set aside for 15 minutes.  


12. While the loaf is set aside, preheat the oven to 400 degrees.

13. Bake the bread for 20 minutes, then lower the oven temperature to 350 degrees.

14. Bake until golden brown and the loaf sounds hollow when tapped, about 40 minutes. Given the high fat content of this bread, it will brown very quickly. You’ll want to look for other signs of doneness and may have to tent it to prevent over-browning. I tented my loaf when I turned the oven down to 350 degrees.


Original recipes found here and here.

Wednesday, June 5, 2013

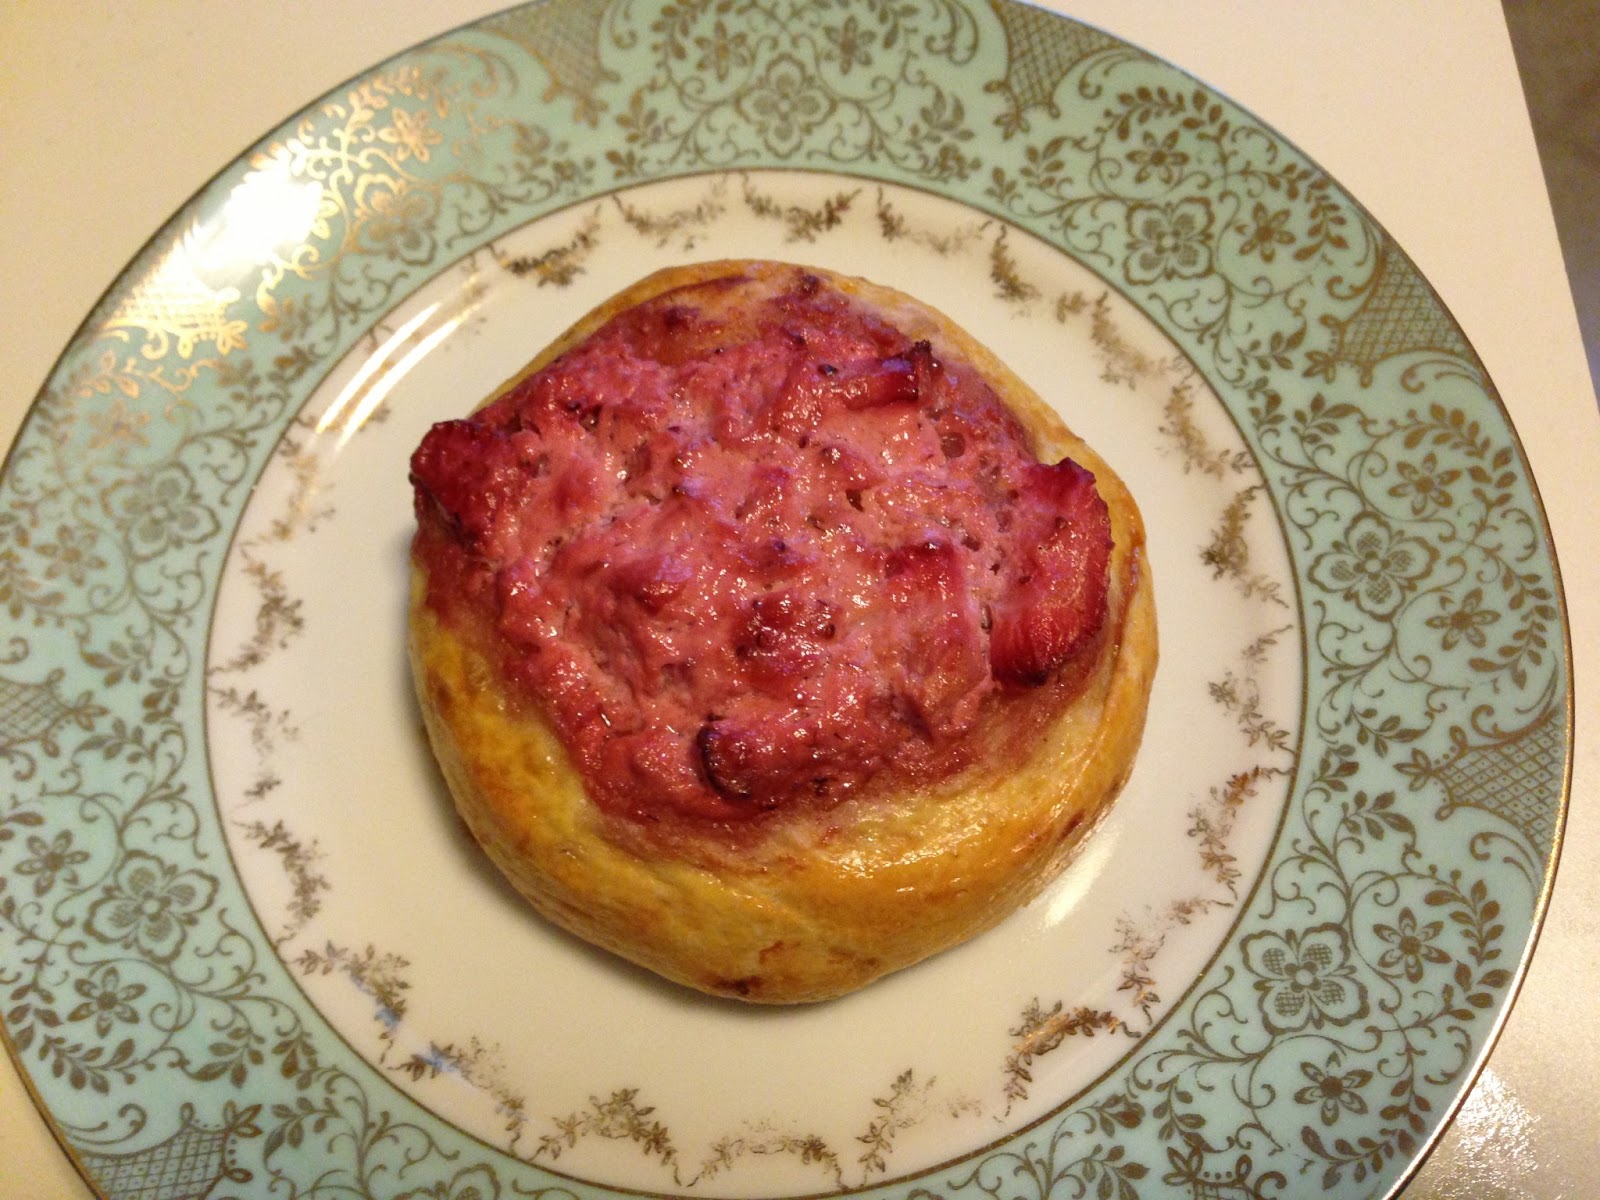
strawberry brioche danish

Who doesn't love a danish, especially when it is made with brioche?


Yield: 16
230 calories per danish
Active time: 20 minutes
Total time: Overnight proof required, about 16 hours
Looking for a no-knead brioche? Check out this blog posting.


ingredients
the dough
3/4 cup lukewarm water
2¼ teaspoons yeast
2 teaspoons kosher salt
4 eggs
1/4 cup agave nectar
3/4 cup butter, at room temperature
3¾ cups all-purpose flour

the filling
½ cup Greek yogurt
2 tablespoons sugar
2 cups sliced strawberries
See step 10 for alternative fillings

preparation
the day before:
1. In a cup Pyrex measuring cup, combine the lukewarm water, yeast, and a pinch of sugar. Set aside for 10 minutes.


2. In your stand mixer bowl, combine the flour and salt.


3. Crack your eggs into a drinking glass, or small bowl, and lightly beat. I use a drinking glass because of the high walls.


4. Add the agave nectar to the frothy eggs and stir.


5. Combine the agave/egg mixture with the yeast mixture.


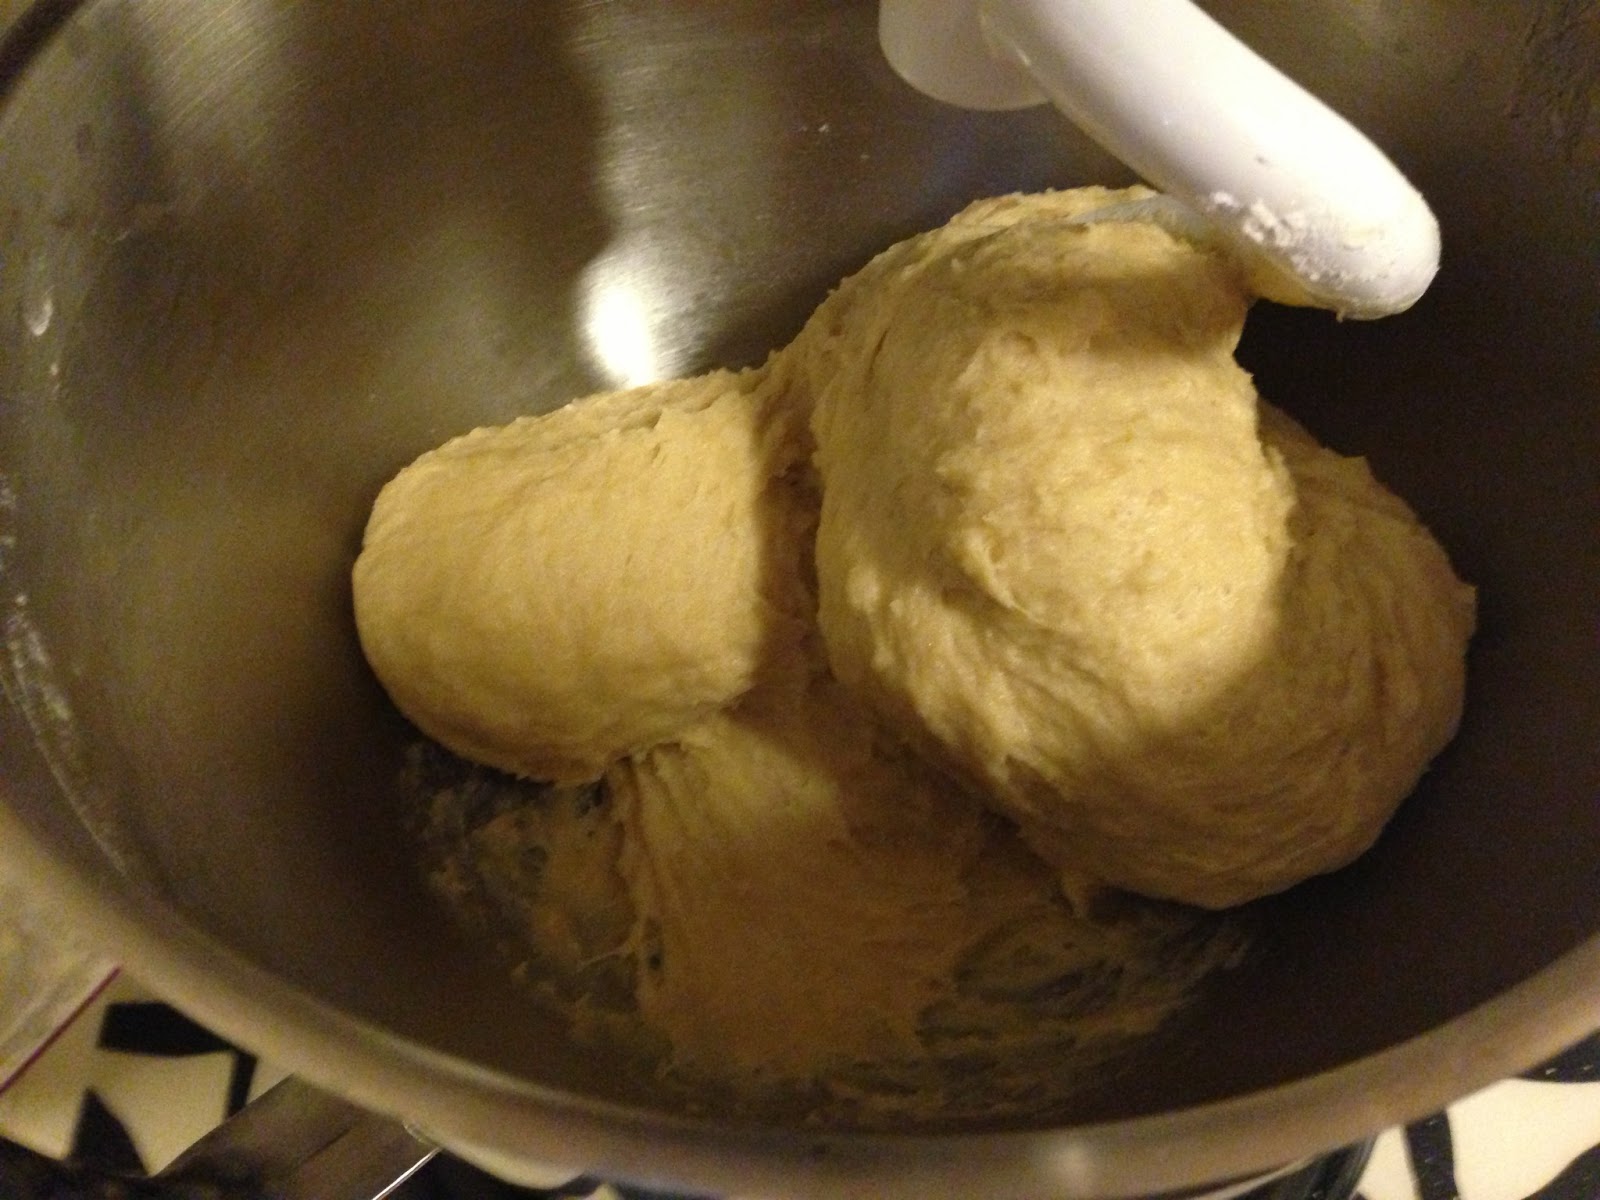
6. Add the wet mixture and melted butter to the stand mixer bowl, and “stir” until a loose dough forms. You may have to scrape down the side of your bowl.


7. Increase the stand mixer speed to 2 and knead until a shiny, smooth, cohesive dough forms, about 5 minutes.


8. Place the dough in a lightly oiled bowl, cover with plastic wrap, and let rise until doubled in bulk, about 2 hours.


9. Place the bowl in the fridge to rise overnight.  

10. In a Tupperware container, combine “the filling” ingredients, stirring well to blend. Place in the fridge. Want to keep your danish more on the fruity side? Leave out the yogurt, but use an additional cup of fruit. Or, use creme fraiche  instead of yogurt, laying the layer the fruit on top of a scoop of creme fraiche. Better yet, go savory!


the day of:
11. Remove the dough from the fridge, turn it out onto your counter top, and divide into 16 equal pieces.


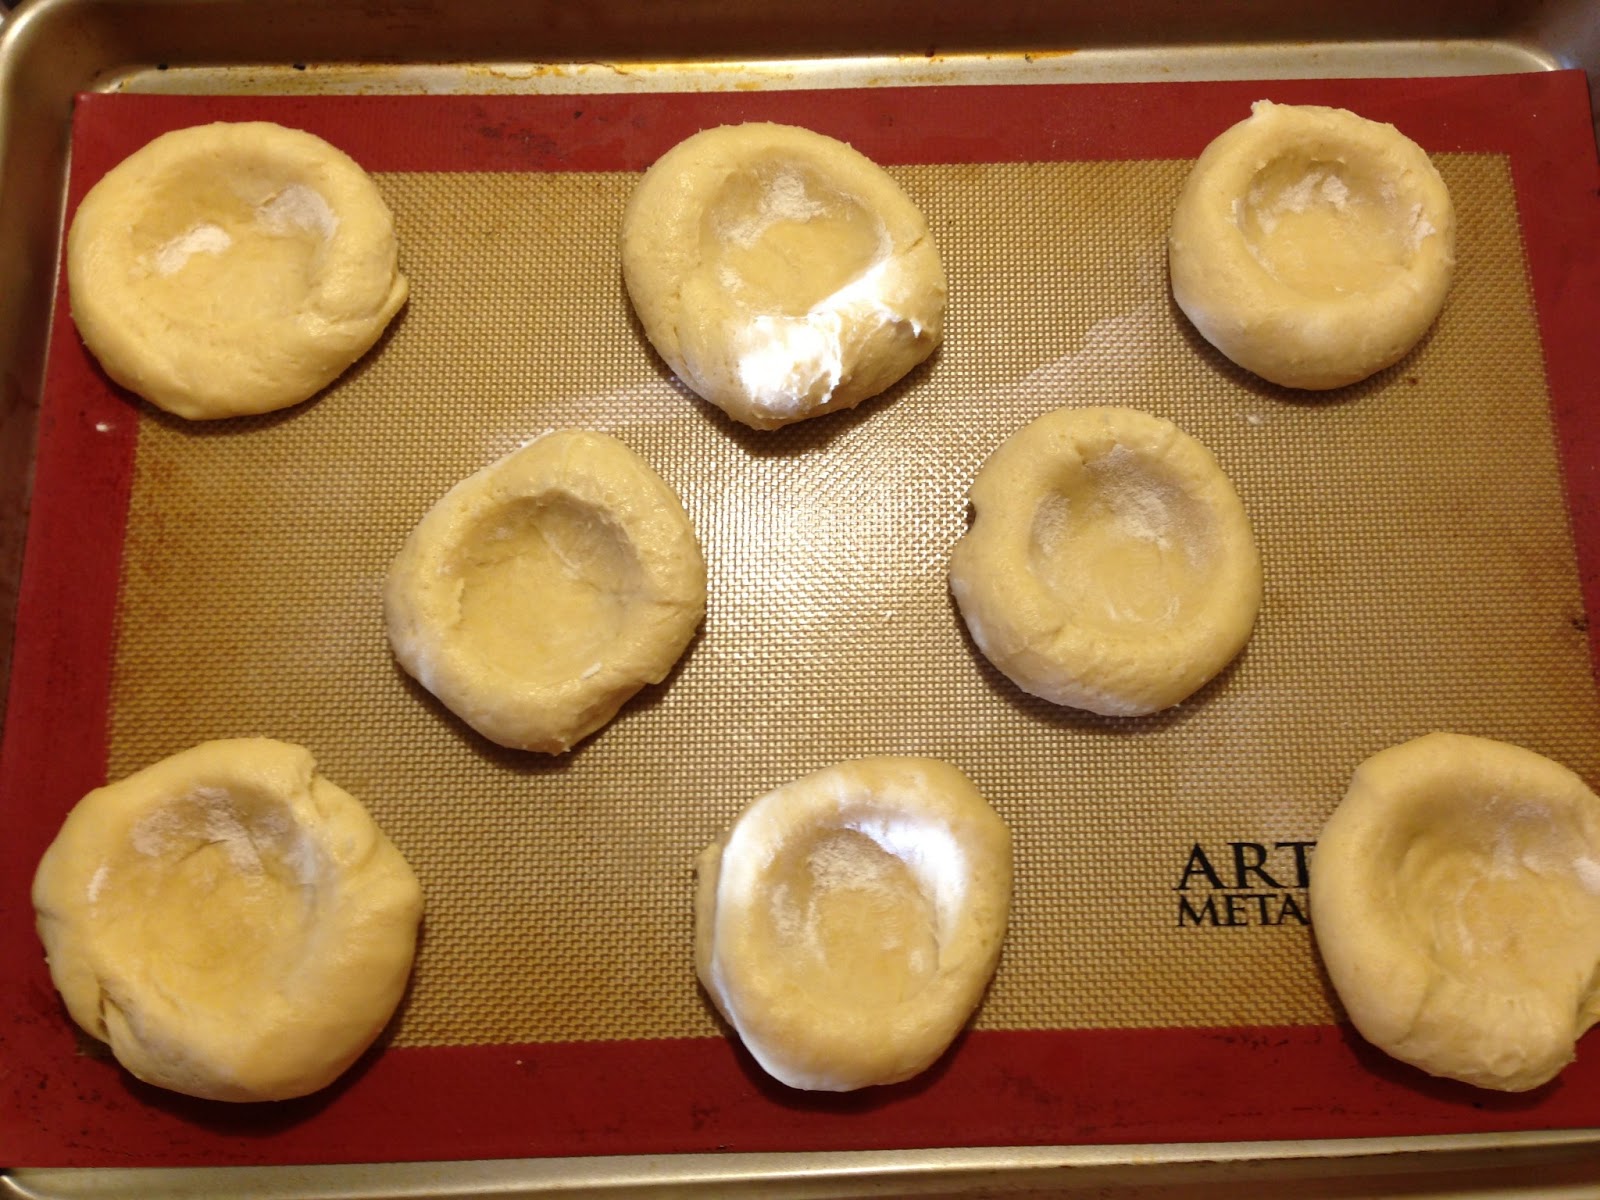
12. Shape each piece into a ball, place in a parchment or silpat lined baking sheet, allow to rise until very puffy, about 1 hour.

13. Using the back of a ¼ cup measuring cup (lightly dusted with flour), press a semi-circle into each of the dough balls.


14. Using a tablespoon, scoop about 3 tablespoons into each Danish. You may want to start with 2 tablespoons and adjust as needed.


15. Brush the dough with an egg wash, staying clear of the filling.


16. Bake at 350 degrees until golden brown, about 25 minutes.


Original recipes found here and here.